Overview
In this post we will cover the steps to get your Hugo blog content to your social media platforms, Back in the day before I was using Hugo, In the world of wordpress this was relatively easy. You could fire up the Wordpress market place and find a plugin which would allow you to cross post to Twitter and LinkedIn (My go to platforms). However in the world of Hugo this is not so easy, or is it?
The way we get around this issue is going old school and creating an rss feed for the blog. As I’ve already done this prior to “going live” for 2024. You can check out the rss feed page at https://blog.builtwithcaffeine.cloud/rss.xml.
So first things first we need to create an rss feed for our blog. This is a relatively simple process and can be done in a few steps.
Create an RSS Feed for your Hugo Blog
What is an RSS Feed?
RSS (Rich Site Summary; originally RDF Site Summary; often called Really Simple Syndication) is a type of web feed which allows users and applications to access updates to websites in a standardized, computer-readable format. These feeds can, for example, allow a user to keep track of many different websites in a single news aggregator. The news aggregator will automatically check the RSS feed for new content, allowing the content to be automatically passed from website to website or from website to user. This passing of content is called web syndication. Websites usually use RSS feeds to publish frequently updated information, such as blog entries, news headlines, or episodes of audio and video series. RSS is also used to distribute podcasts. An RSS document (called “feed”, “web feed”, or “channel”) includes full or summarized text, and metadata, like publishing date and author’s name.
Depending on how your theme is setup, You can use the following locations to create the rss.xml
<your-theme>\layouts\_default\rss.xmllayouts\_default\rss.xml
the file itself will look like this:
| |
To ensure your RSS feed works as expected, you need to configure it in the hugo.toml file.
Add the following section:
| |
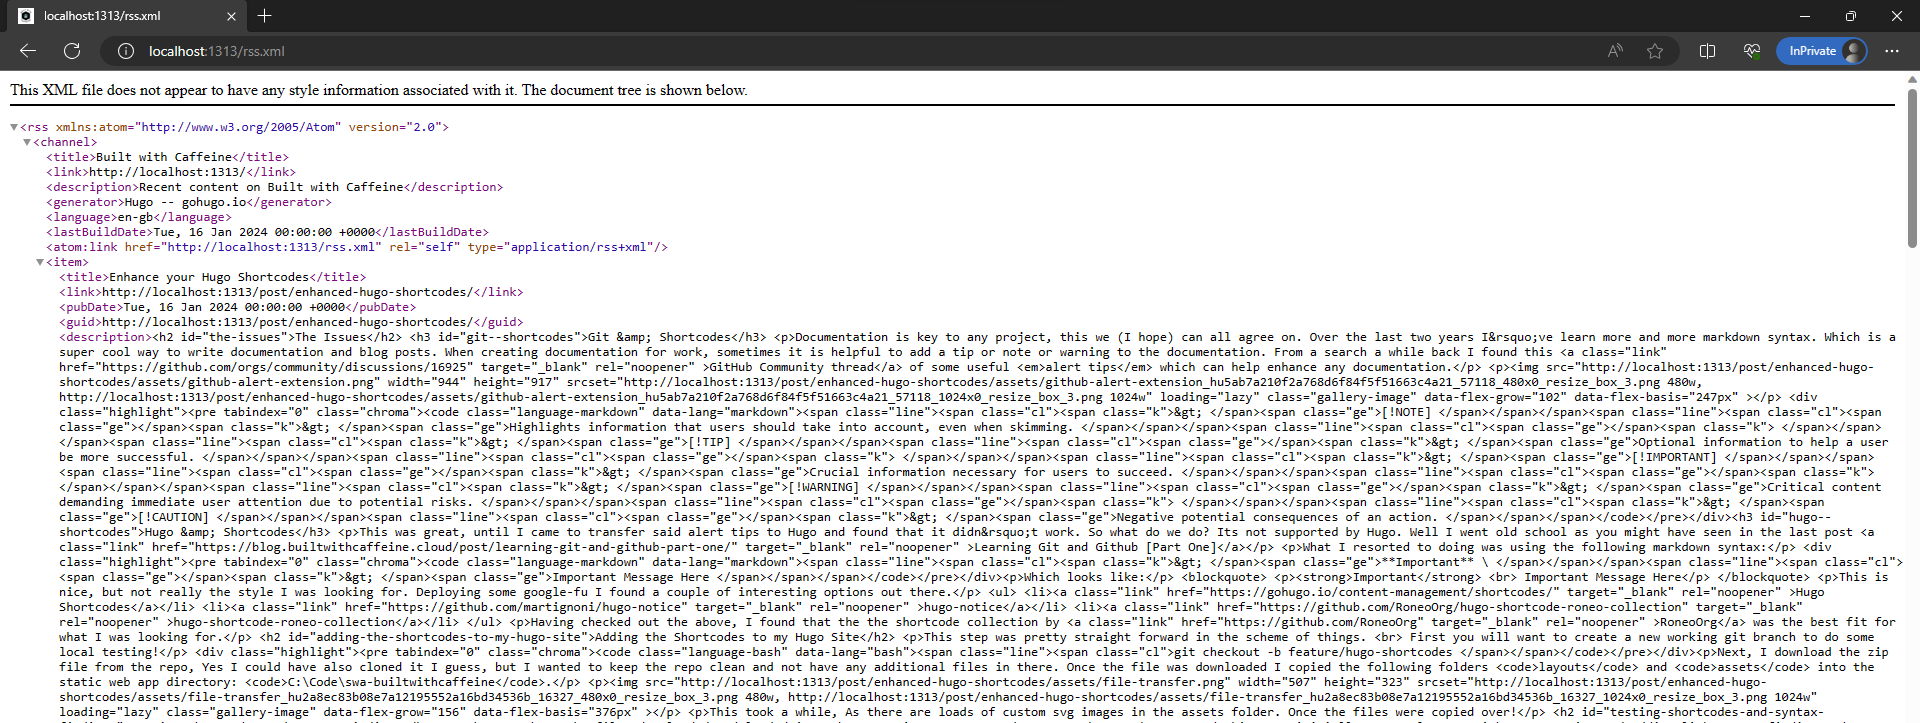
Once this file has been created you can test it by running hugo server and navigating to http://localhost:1313/rss.xml you should see something like this:
Account Creation
Create a Zapier Account
What is Zapier?
Zapier is an online automation tool that allows you to connect your favorite apps, such as Gmail, Slack, Mailchimp, and more than 3,000 others. You can automate repetitive tasks between two or more apps with Zapier, creating automated workflows known as “Zaps.” A Zap connects two or more apps to automate part of your business or personal tasks, saving you time and effort.
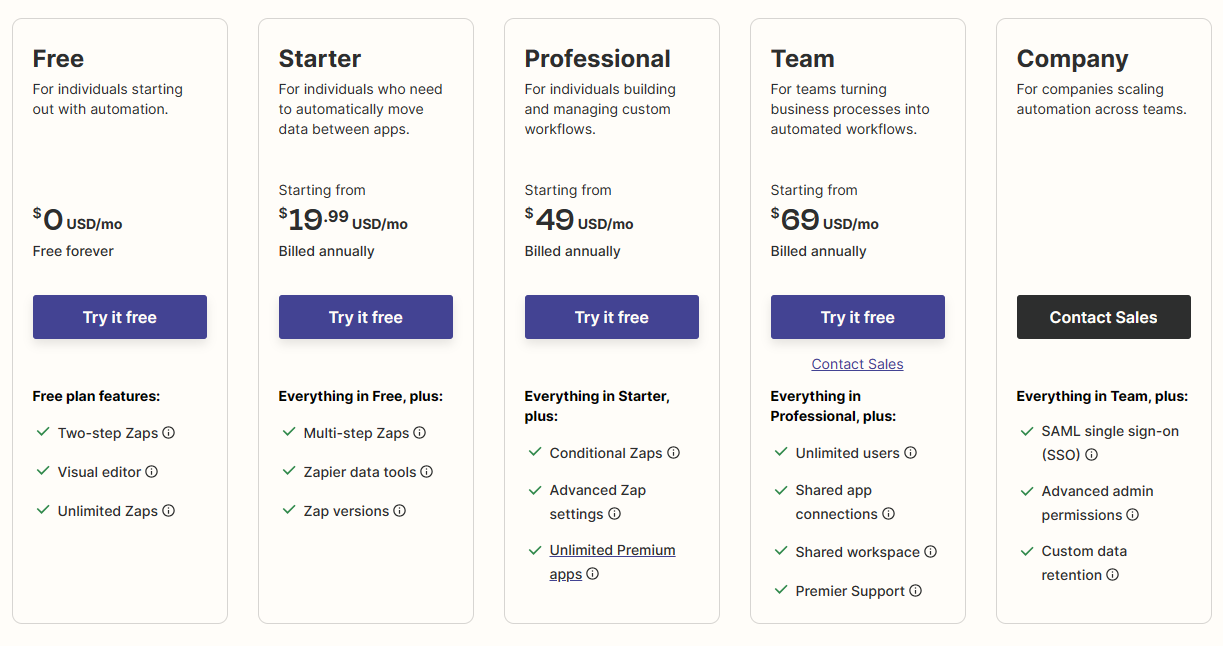
You can sign up for a free account at https://zapier.com/sign-up and then you will be able to create your first Zap.
this screenshot was taken in January 2024, so the pricing may have changed since then.
Create a Buffer Account
What is Buffer?
Buffer is a social media management platform, which allows you to schedule posts to many different social media platforms.
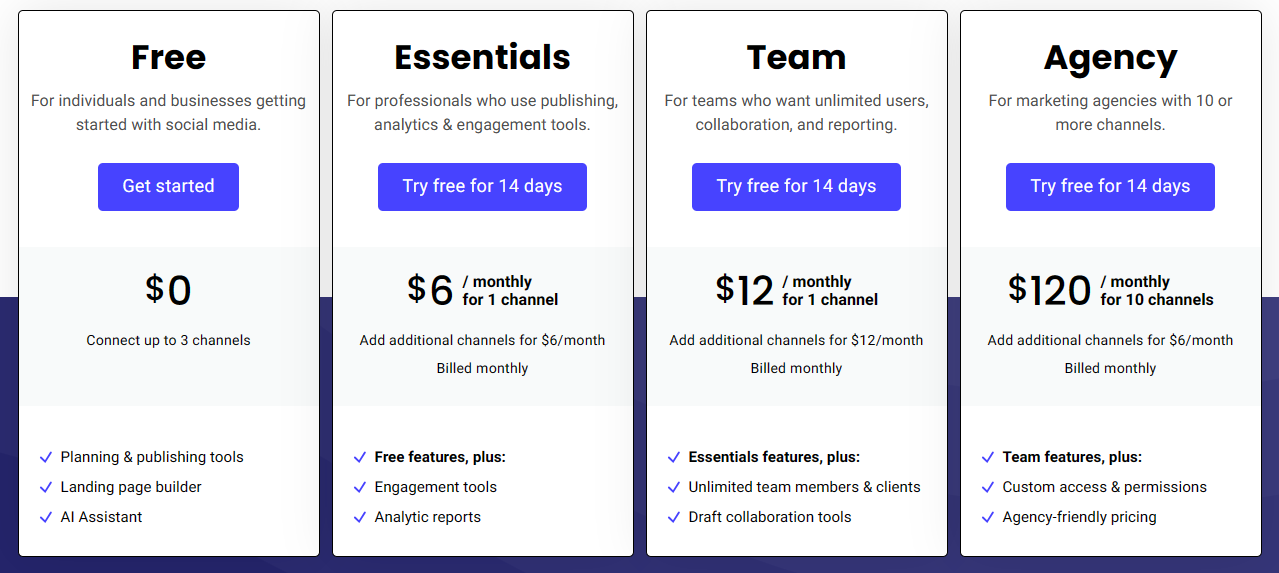
You can sign up for a free account at https://login.buffer.com/signup
this screenshot was taken in January 2024, so the pricing may have changed since then.
Creating the Zapier Zap - Part A
What is a zap?
A Zap is an automated workflow that tells your apps to follow this simple command: “When this happens, do that.” Every Zap has a trigger and one or more actions. A trigger is an event that starts a Zap, and an action is what your Zap does for you. When a Zap runs, each action it completes counts as one task.
For more information on Zaps check out https://zapier.com/help/create/basics/what-is-a-zap
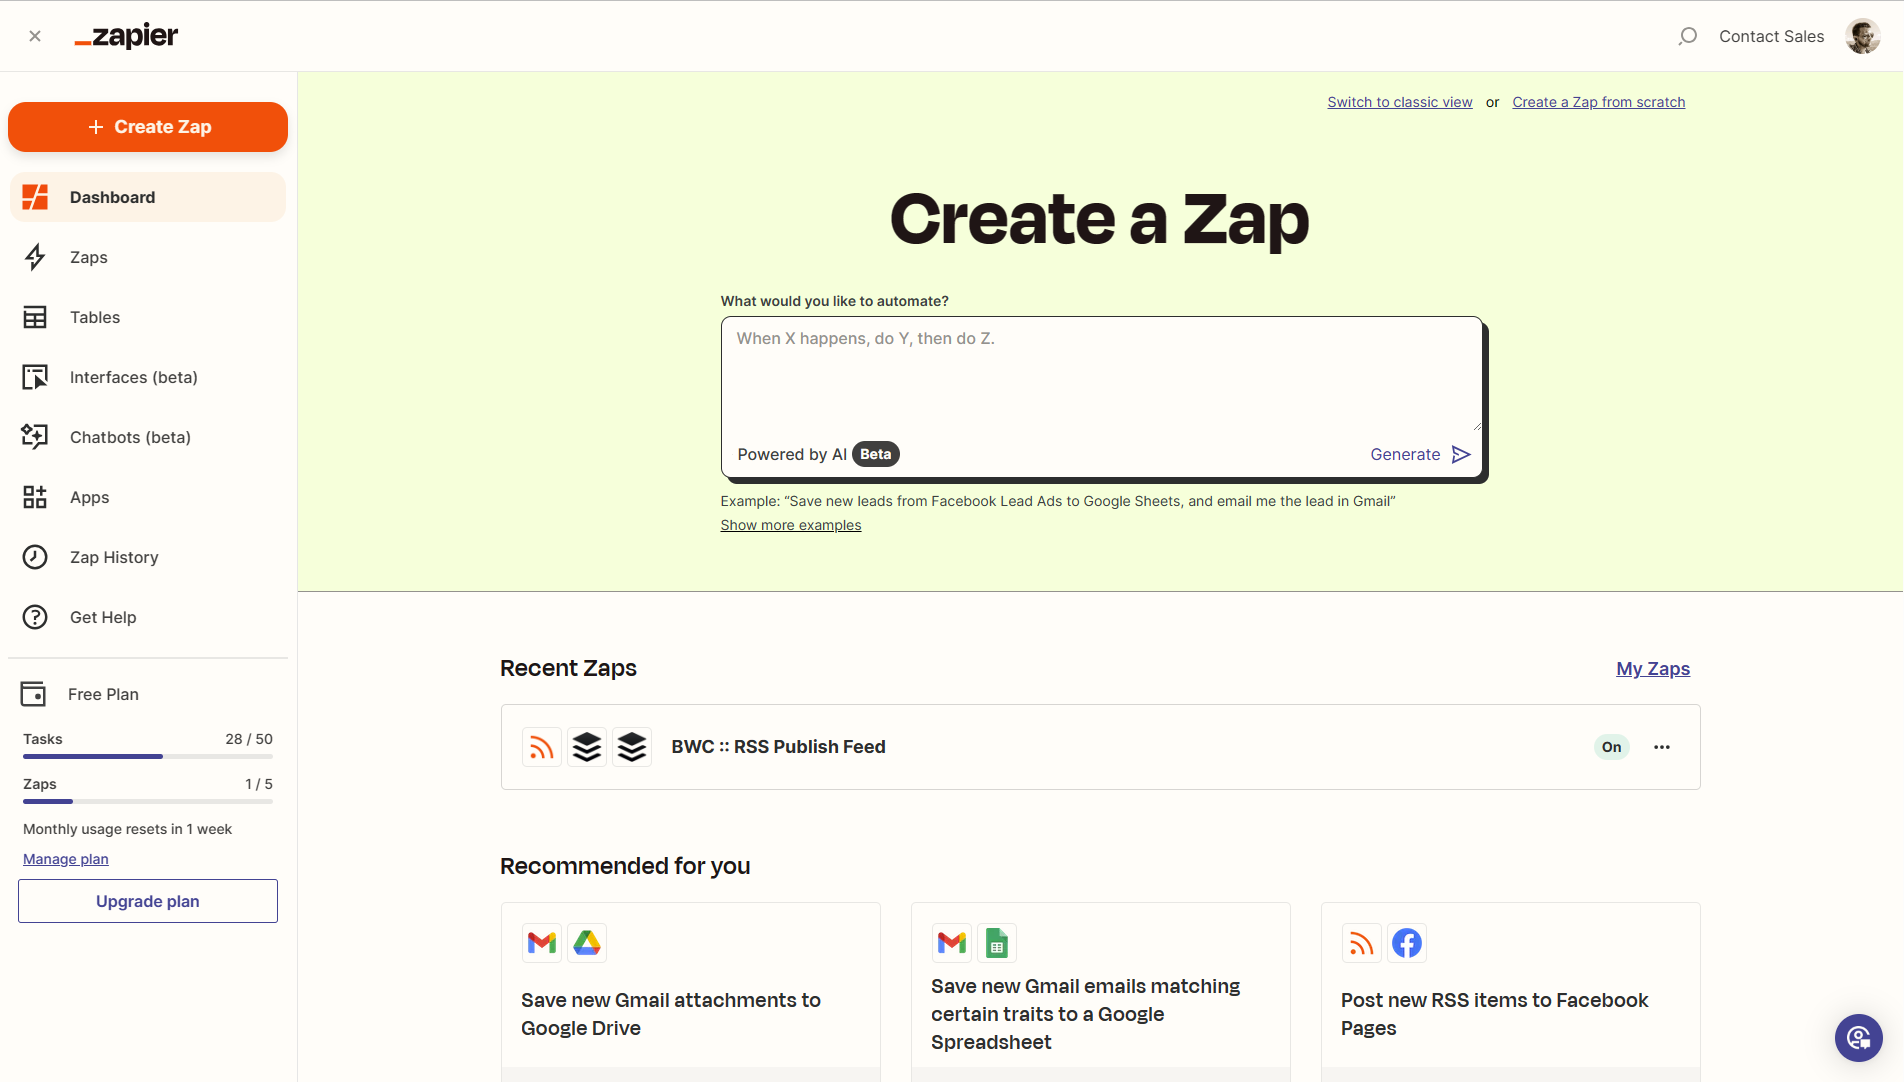
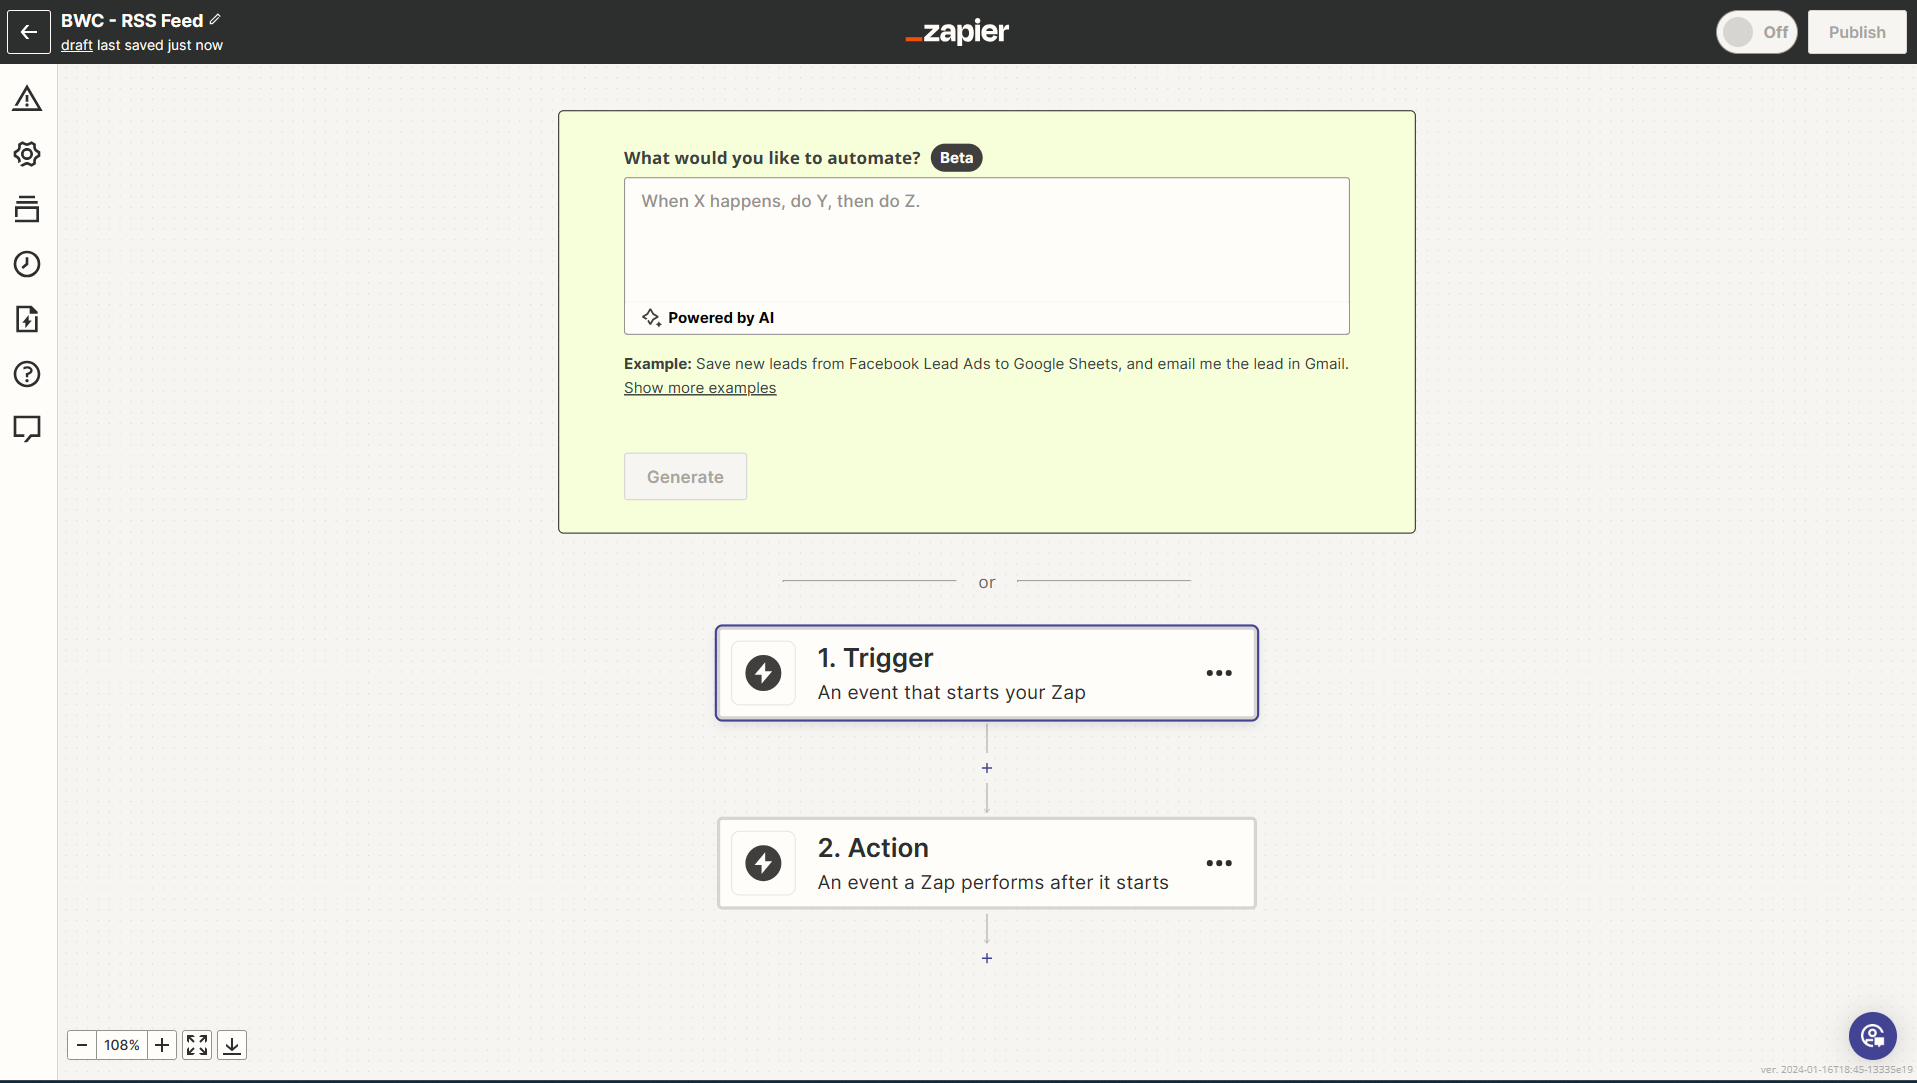
From the Zapier dashboard click on the + Create Zap button.
Next, we need to create a trigger, in this case we will use the `RSS by Zapier trigger.
which will poll the rss.xml file we created earlier.
For this step to work, you will have needed to publish the rss.xml file to your blog before continuing with this step.
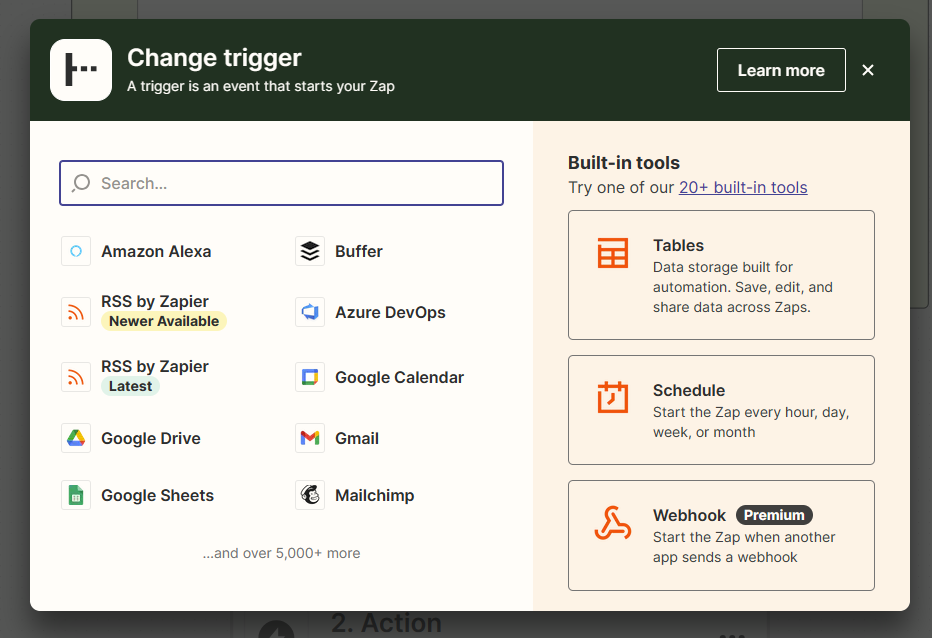
Next, Click on 1. Trigger and select RSS by Zapier from the list of apps.
For this post we are going to use the RSS by Zapier - Latest trigger.
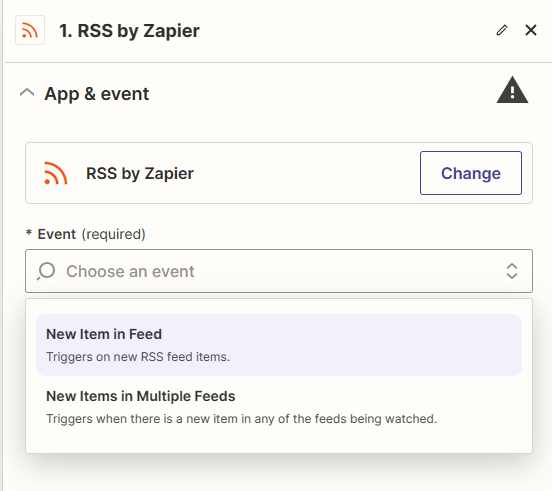
Now we need to configure the event type for the trigger.
For this post we are going to use the New Item in Feed event.
Next, we need to configure the trigger, Add your rss.xml url to the Feed URL field and click Continue.

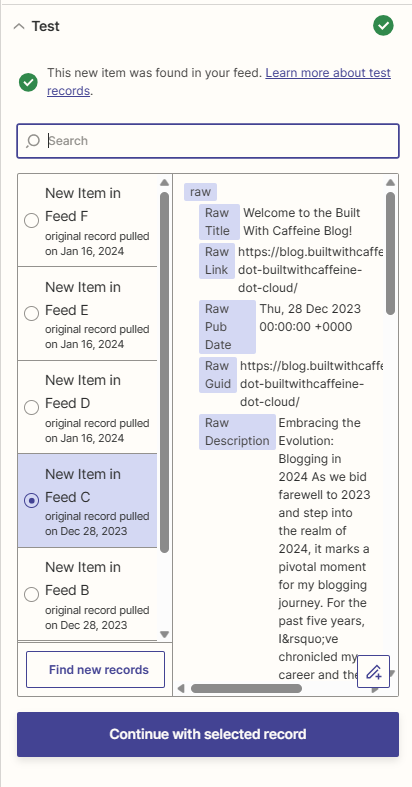
Ok, We have configured the trigger, now lets test to see the rss feed results in Zapier.
Click on Test trigger and then Continue.
If everything has worked correctly you should see something like this:

Ok, lets save this step by click on the Continue with selected record button.
Buffer - Adding Social Media Accounts
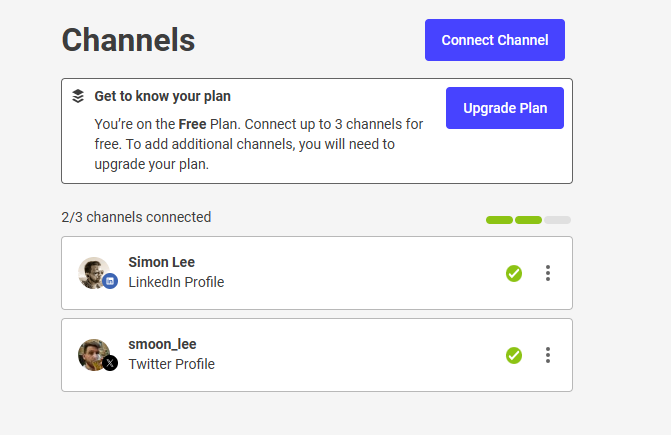
Now we head over to Buffer and will add the social media accounts we would like to cross post to. For the free tier you can only add 3 social media accounts. Which for me is fine, as I only use Twitter and LinkedIn.
From the Buffer portal, bottom left of the screen we want to click Manage Channels
From here you can click on Connect Channel
As you can see there are a lot of social media platforms to choose from.

Once you have selected the social media platform you want to connect, you will be asked to authenticate with the platform and then once configured it should look something like this.
Creating the Zapier Zap - Part B
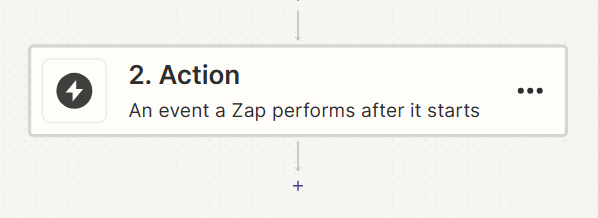
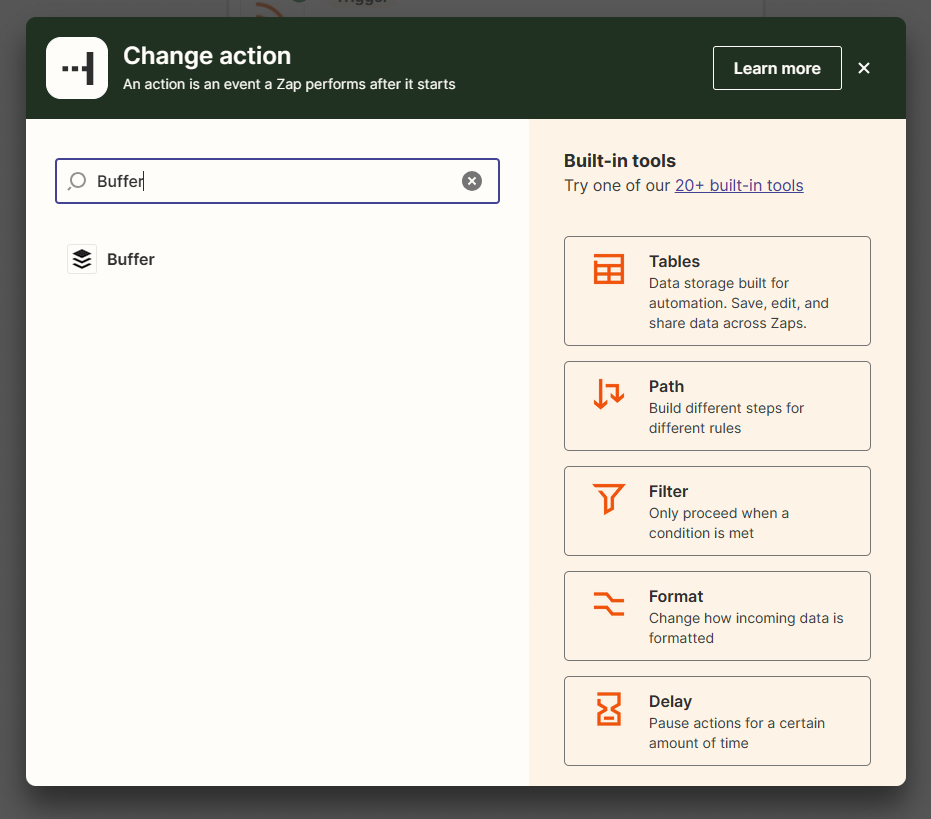
So, Buffer is now configured with the social media accounts, from the Zapier portal we can now add the Buffer action to the Zap. Click on the Action step.
Search for Buffer and select Buffer from the list of apps.
Next, we need to select the action we want to perform. For this post we are going to use the Add to Queue action.

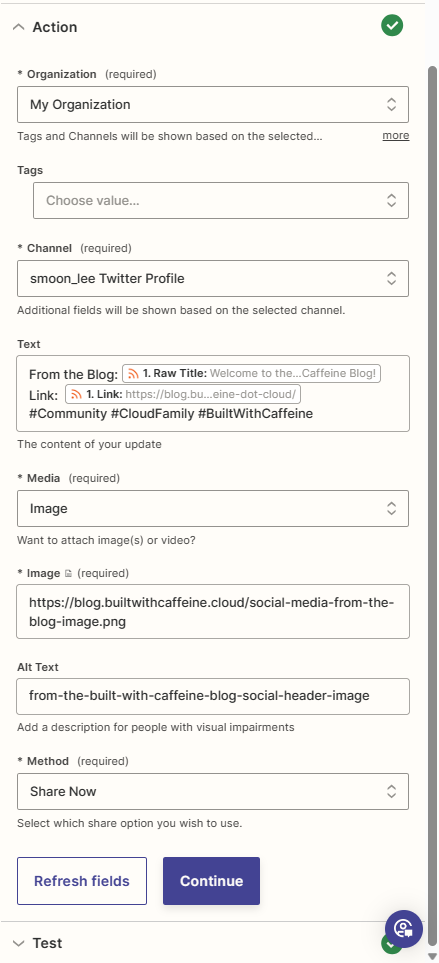
Zap Action - Buffer Twitter
Connect your Buffer account to Zapier, by clicking on the Connect a new Account button.
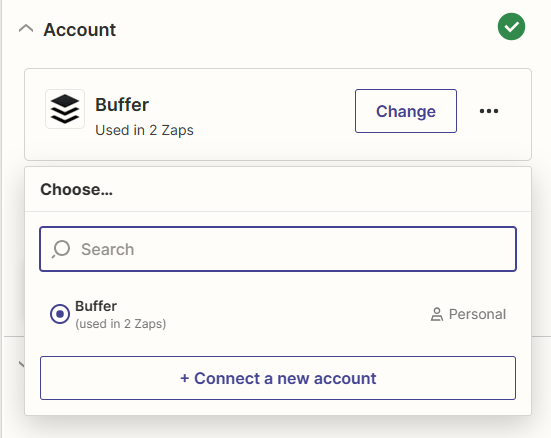
You will be asked to authenticate with Buffer, once authenticated you will be able to select the social media account you want to post to.
Now we need to build out the action, For the twitter posts I decided that I wanted to have cover image which would be shown every time. This was uploaded prior to creating the Zap and stored under the content folder.
Cover Image for Social Media Pots:

The Cover image wanted to be added under Image as a url.
For the text, remember that Twitter still has a character limit of 280 characters. So I decided to use the Title Link and then some useful hashtags to help boost the post reach.
Example Twitter Post:
From the Blog: Enhance your Hugo Shortcodes
— Simon Lee (@smoon_lee) January 16, 2024
Link: https://t.co/OxI7QYthH9#Community #CloudFamily #BuiltWithCaffeine pic.twitter.com/vndaAhIL49
Zap Action - Buffer LinkedIn
The LinkedIn Action is very similar to the Twitter action, We will still use the Buffer action. So lets duplicate the current action and then we can modify it for LinkedIn.
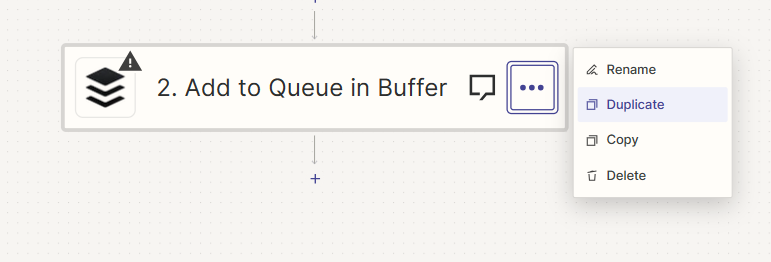
The duplication is done, now we need to modify the action.
Click on the 3. Copy: Add to Queue in Buffer

As you can see it is very similar to the Twitter action. I’d really the only change is the actual channel we are posting to.
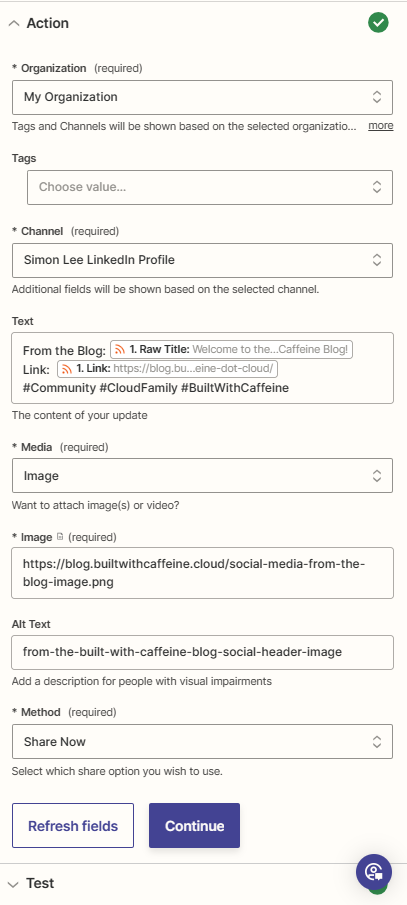
Once this is done, click Continue.
Testing the Zap
Congratulations, you have just created your first Zap. Now we need to test it. There are two ways to test the Zap, You can either wait for the next RSS feed to be published or you can test it manually. For a manual test you can trigger the RSS Trigger to check for new items from the feed.
Once the trigger has been tested, you can then test the Buffer action. You can choose either action depend on which social media platform you want to test.
Twitter Test:

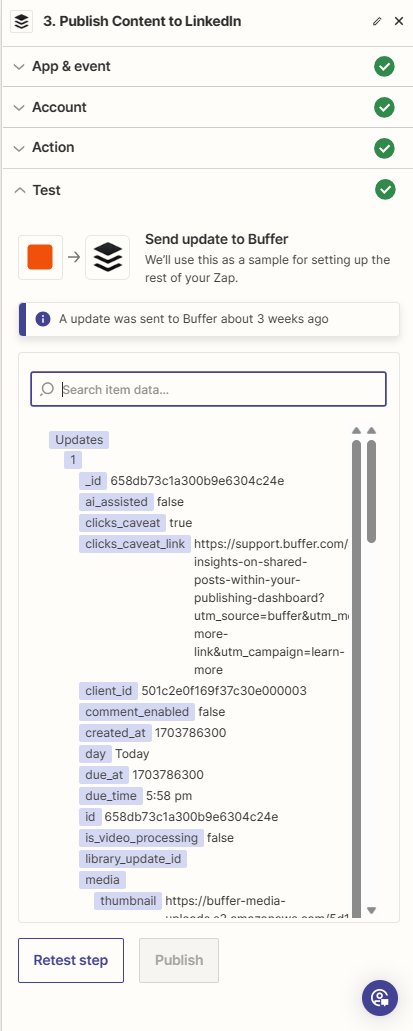
LinkedIn Test:
Summary
And here we are, at the bottom of the page! I hope you found this post useful and that you are able to get your blog content out to the people.
If you have any questions on the configuration, please feel free to reach out to me on Twitter.
Until next time, Stay safe and keep learning! 🎉