Oh-My-Posh Profile Update Improvements

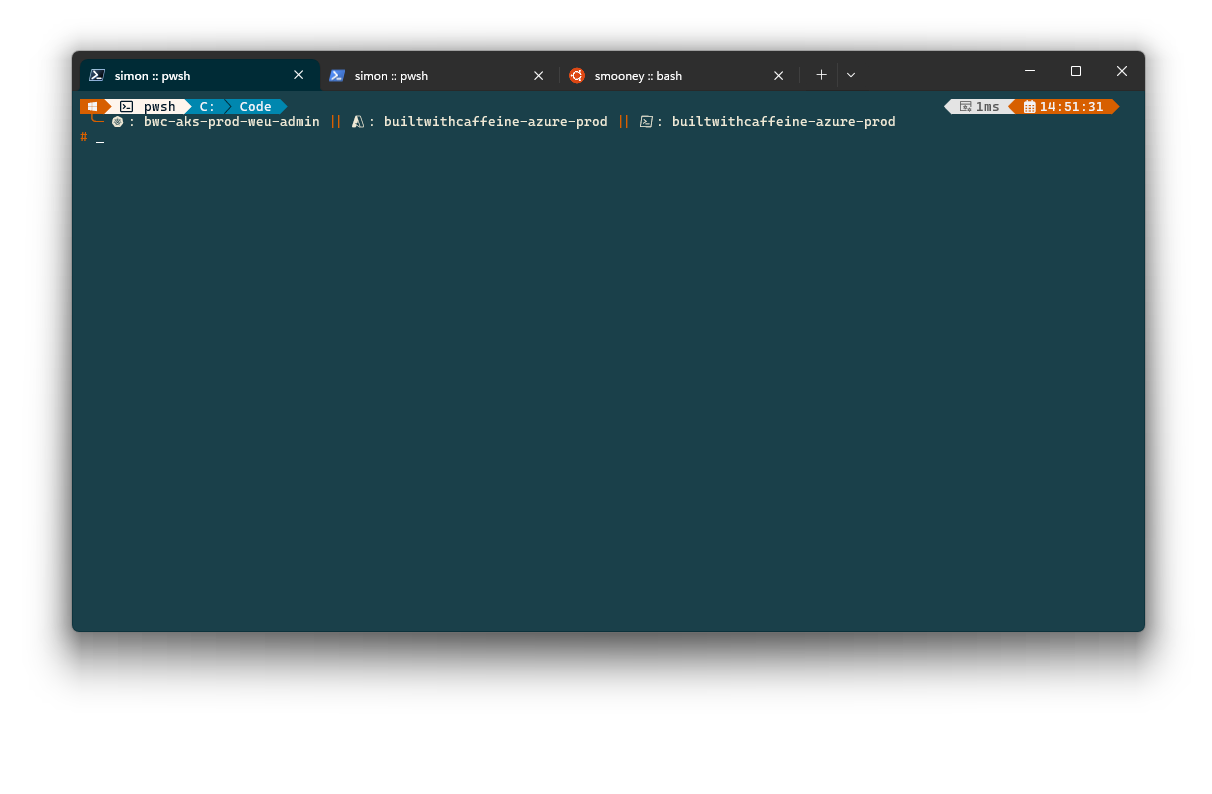
Since I last posted about my Oh-My-Posh Mark Two Profile. Much has changed and improved. We are now the Mark Three release/iteration of the profile and recently while showing it to some colleagues at Intercept. Someone asked about improving the update cycles, in some form of a function like Update-PSProfile.
Prior to the Update-PSProfile function being created, You had to pull the complete GitHub repository and run the New-OhMyPoshProfile.ps1 for. every. single. change. Which was not ideal and it meant you had to sometimes leave the “active terminal” to get the latest updates. - Not ideal!
For those of you who do not know about my pet Powershell profile project, Check out the repository: https://github.com/smoonlee/oh-my-posh-profile
Why GitHub Releases
GitHub Releases are a powerful feature on GitHub that allows developers to manage software releases effectively. It provides a structured way to package, distribute, and document software versions, ensuring that users have access to stable and reliable versions of your project.
Key Features
Versioning and Tagging: Each release is tied to a specific Git tag, making it easy to track changes and rollback if necessary. This helps maintain a clear version history.
Release Notes: Developers can attach release notes to each version, detailing the changes, enhancements, and bug fixes. This is crucial for users to understand what has been updated.
Binary Attachments: GitHub Releases supports uploading binary files, such as compiled executables, libraries, or other assets. This allows users to download the necessary files without building the project from source.
Pre-releases: For testing and feedback purposes, developers can create pre-releases. These are versions that may not be fully stable but are made available for early access and testing.
Automated Releases: Integrating with Continuous Integration (CI) tools, developers can automate the creation of releases, ensuring consistency and saving time.
Benefits
Centralized Distribution: All releases are available in one place, making it easy for users to find and download the latest stable version of the software.
Enhanced Transparency: By providing detailed release notes and changelogs, developers can keep users informed about what has changed in each version, enhancing transparency and trust.
Improved User Experience: Users can download pre-built binaries and installers, reducing the complexity of setting up and using the software.
Streamlined Development Workflow: With integration into CI/CD pipelines, releases can be managed more efficiently, ensuring that new features and fixes are delivered promptly.
Best Practices
Semantic Versioning: Follow semantic versioning (MAJOR.MINOR.PATCH) to communicate the nature of changes in each release clearly.
Detailed Changelogs: Maintain comprehensive and clear changelogs for each release to keep users informed about new features, improvements, and bug fixes.
Automate Where Possible: Use CI tools like GitHub Actions to automate the release process, ensuring consistency and reducing manual errors.
Engage with Users: Use pre-releases to gather feedback from users and make necessary adjustments before the official release.
Enabling GitHub Releases
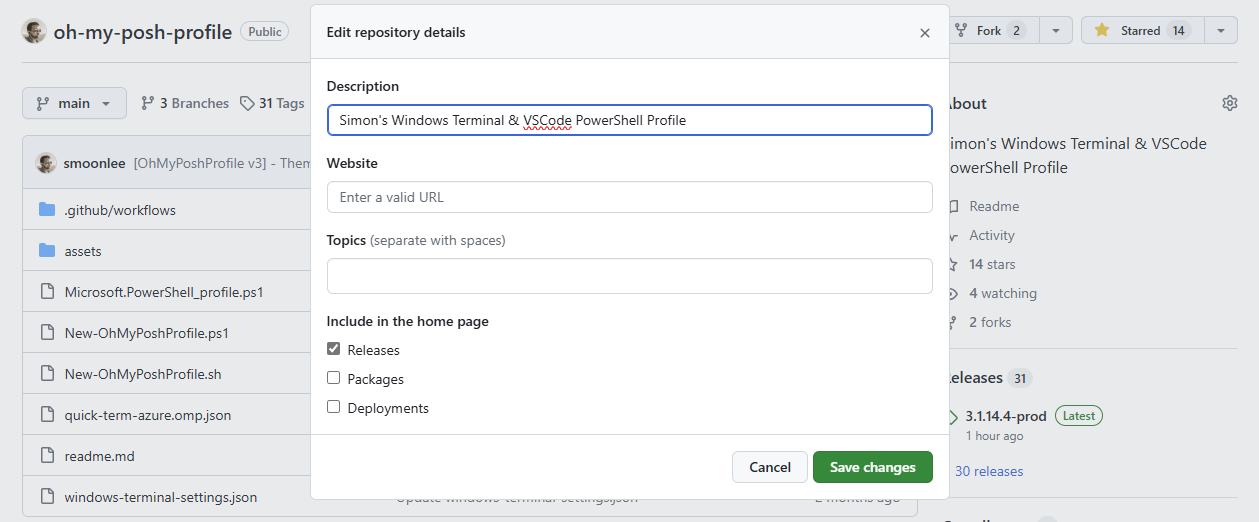
From your GitHub Repository, click on the settings cog next to About and tick [x] Releases and Save changes.

Update-PSProfile Overview
For this to work out, I figured any good project needs a prod and dev release branches right? This would allow for semi private testing and then official release which my friends and colleges would be able to pull after much testing had been completed right. My aim was to be able fully automate the release cycles for dev and prod and figured this would be do able using GitHub actions and some form of tagging. Because everyone likes a tag 😄 So the two tags I opted for were:
- updated-profile-release-prod
- updated-profile-release-dev
Based on these tags the release pipeline would either publish a latest release or a pre-release development build.
to be able to call the various releases using the powershell function you can call either
Production
| |
Development
Update-PSProfile -devMode
Action - Auto Tag Pull Request
So first I looked into the feasibility of creating something which would trigger as soon a I Opened/Created a pull request. this was pretty straight forward. Using GitHub Action you can use a trigger based on:
| |
This action is always triggered when a PR is opened. I wrote the action to check for the pull request branch name for a suffix of either [prod] or [dev] and based on this logic apply one of the two release tags.
Then taking advantage of the GitHub API, Merge and close the PR.
Please ensure you create a secret AUTH_TOKEN for a PAT/Fine-Grained Token
GitHub Docs - Creating Personal Access Token
| |
Action - Auto Release Scheduler
Next was the release pipeline, This required a little troubleshooting and some ChatGPT to get some improved logic. The release pipeline takes advantage of this marketplace offering by svenstaro - upload-release-action. this allowed me to ensure that I just uploaded the updated Microsoft.PowerShell_profile.ps1 file and the release notes (if I remember to fill them in) so end-users will know what the latest changes are.
Please ensure you create a secret AUTH_TOKEN for a PAT/Fine-Grained Token
GitHub Docs - Creating Personal Access Token
| |
Post Summary
So to summerise in this post, We’ve covered creating an automated release pipeline based on two tags for prod and release. - I hope you found this useful and might be able to use it in your own side projects 🎉
So for now peeps, #KeepBlogging and I’ll catch you in the next one! - Simon