Learning how to configure and utilize GitHub self-hosted runners for custom workflows
In today’s fast-paced development world, automation is key to maintaining efficiency. GitHub Actions offers a robust platform for automating workflows, from CI/CD pipelines to other development tasks. While GitHub provides hosted runners for convenience, self-hosted runners offer unparalleled customization and control. In this post, we’ll explore how to set up and utilize GitHub self-hosted runners to tailor your workflows to your exact requirements.
What Are Self-Hosted Runners?
Self-hosted runners are virtual machines (VMs) or physical machines that you set up and manage yourself. These runners execute your GitHub Actions workflows on your own hardware, offering greater flexibility than GitHub’s hosted runners. They’re particularly valuable when your workflows require specialized tools, configurations, or resources that are not available on GitHub-hosted runners.
Benefits of Self-Hosted Runners
Custom Environments: Self-hosted runners give you full control over the environment. You can install specific tools, dependencies, and configurations that align with your project’s needs.
Faster Workflows: If you use high-performance hardware with optimized configurations, self-hosted runners can significantly accelerate build, test, and deployment processes.
Cost Efficiency: Running workflows on your infrastructure can reduce costs, especially for resource-intensive jobs, compared to relying on
GitHub-hosted runners.
Security and Compliance: You can manage sensitive data within your own network, providing better isolation and control over your workflows.
Setting Up a Self-Hosted Runner
Setting up a self-hosted runner involves these steps:
Prepare Your Machine
Select a machine that meets the requirements for GitHub self-hosted runners. Ensure the operating system and hardware specifications align with your workflow needs. Install necessary dependencies like Docker if your workflows use containerized builds.
Download the Runner Application:
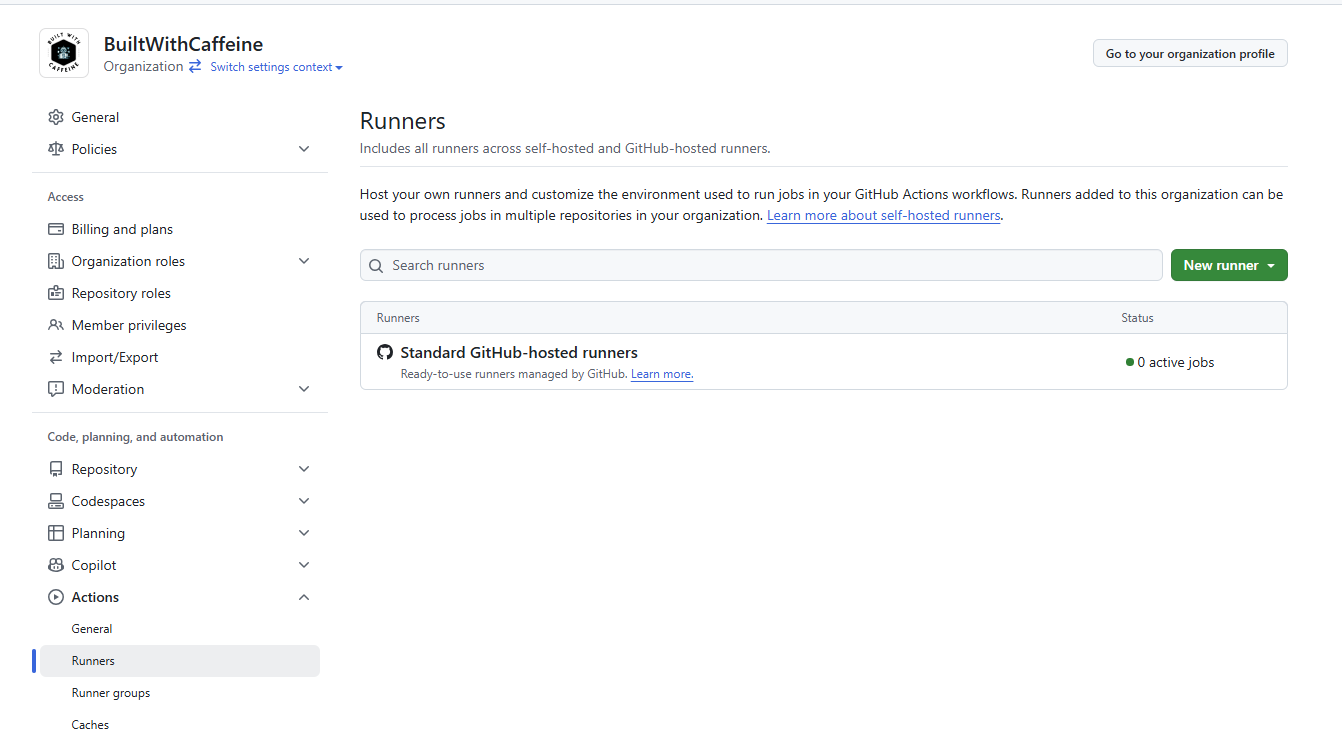
Navigate to your repository, organization, or enterprise in GitHub.
Go to Settings > Actions > Runners, and click Add Runner to download the runner application for your operating system.
Configure the Runner
Extract the downloaded package and follow the instructions to register the runner.
During registration, you’ll need an authentication token, which is generated in the GitHub UI when you add a runner.
Assign the runner to a specific repository, organization, or enterprise and set any necessary labels to help identify the runner for specific jobs.
Start the Runner
After registration, start the runner application.
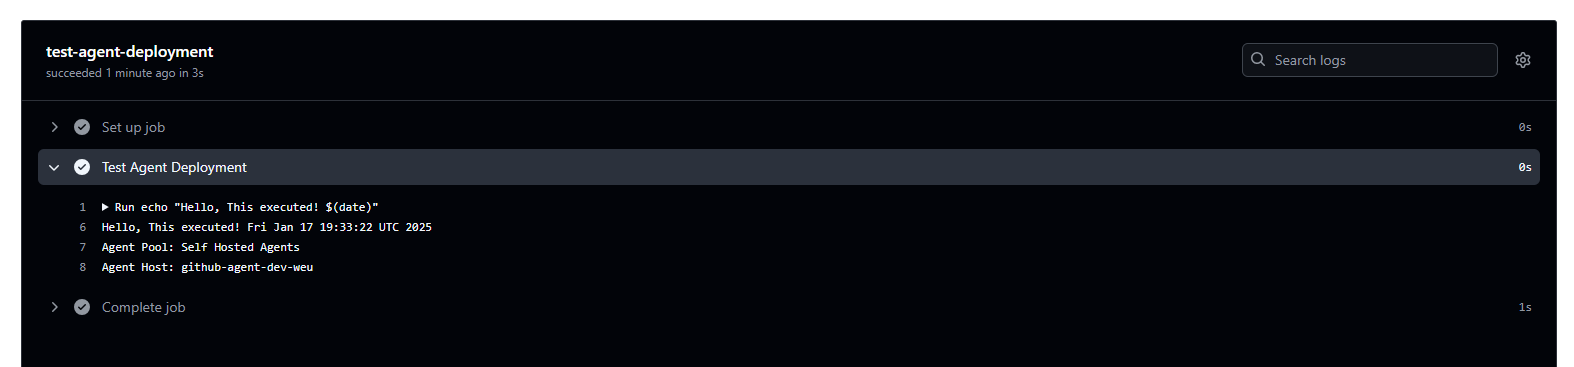
Verify its status by checking the GitHub Actions interface. Run a test workflow to confirm the self-hosted runner is functioning as expected.
Automating Self-Hosted Runner Deployment
To streamline the deployment of self-hosted runners, you can automate the process using Infrastructure as Code (IaC). This is especially useful for managing runners at scale or provisioning VMs dynamically.
Bicep Deployment
Using IaC tools like Terraform or Bicep, you can deploy and configure the VM to host the runner automatically. Here’s an example of deploying a virtual machine with Azure CLI for a GitHub self-hosted runner:
Info
Please ensure Microsoft.AzureCLI and Microsoft.Bicep are installed
targetScope='subscription'// Imported Values@description('The location of the resources')paramlocationstring@description('The short code of the location')paramlocationShortCodestring@description('The environment type')@allowed(['dev''acc''prod'])paramenvironmentTypestring@description('The Public IP Address')parampublicIpstring@description('The name of the virtual machine')paramvmHostNamestring='github-agent-${environmentType}-${locationShortCode}'@description('The Local User Account Name')paramvmUserNamestring@description('The Local User Account Password')@secure()paramvmUserPasswordstring@description('The Resource Group Name')paramresourceGroupNamestring='rg-github-agent-${environmentType}-${locationShortCode}'@description('The Network Security Group Name')paramnetworkSecurityGroupNamestring='nsg-github-agent-${locationShortCode}'@description('The Virtual Network Name')paramvirtualNetworkNamestring='vnet-hosted-agents-${environmentType}-${locationShortCode}'@description('The Subnet Name')paramsubnetNamestring='snet-hosted-agents'//// Azure Verified ModulesmodulecreateResourceGroup'br/public:avm/res/resources/resource-group:0.4.0'={name:'createResourceGroup'params:{name:resourceGroupNamelocation:location}}modulecreateNetworkSecurityGroup'br/public:avm/res/network/network-security-group:0.5.0'={name:'createNetworkSecurityGroup'scope:resourceGroup(resourceGroupName)params:{name:networkSecurityGroupNamelocation:locationsecurityRules:[{name:'ALLOW_SSH_INBOUND_TCP'properties:{priority:100access:'Allow'direction:'Inbound'protocol:'Tcp'sourceAddressPrefix:publicIpsourcePortRange:'*'destinationAddressPrefix:'*'destinationPortRange:'22'}}]}dependsOn:[createResourceGroup]}modulecreateVirtualNetwork'br/public:avm/res/network/virtual-network:0.5.1'={name:'create-virtual-network'scope:resourceGroup(resourceGroupName)params:{name:virtualNetworkNamelocation:locationaddressPrefixes:['10.0.0.0/24']subnets:[{name:subnetNameaddressPrefix:'10.0.0.0/24'networkSecurityGroupResourceId:createNetworkSecurityGroup.outputs.resourceId}]}dependsOn:[createResourceGroup]}modulecreateVirtualMachine'br/public:avm/res/compute/virtual-machine:0.8.0'={name:'create-virtual-machine'scope:resourceGroup(resourceGroupName)params:{name:vmHostNameadminUsername:vmUserNameadminPassword:vmUserPasswordlocation:locationosType:'Linux'vmSize:'Standard_B2ms'zone:0bootDiagnostics:truesecureBootEnabled:truevTpmEnabled:truesecurityType:'TrustedLaunch'imageReference:{publisher:'Canonical'offer:'ubuntu-24_04-lts'sku:'server'version:'latest'}nicConfigurations:[{ipConfigurations:[{name:'ipconfig01'pipConfiguration:{name:'${vmHostName}-pip-01'}subnetResourceId:createVirtualNetwork.outputs.subnetResourceIds[0]}]nicSuffix:'-nic-01'enableAcceleratedNetworking:false}]osDisk:{caching:'ReadWrite'diskSizeGB:128managedDisk:{storageAccountType:'Premium_LRS'}}}dependsOn:[createVirtualNetwork]}
Next you’ll need a deployment Wrapper, Save the PowerShell script for example as Invoke-AzDeployment.ps1, then calling the script:
param([Parameter(Mandatory=$true,Position=0,HelpMessage="Deployment Guid is required")][validateSet('tenant','mgmt','sub')][string]$targetScope,[Parameter(Mandatory=$true,Position=1,HelpMessage="Subscription ID is required.")][string]$subscriptionId,[Parameter(Mandatory=$true,Position=2,HelpMessage="Location is required.")][ValidateSet("eastus","eastus2","eastus3","westus","westus2","westus3","northcentralus","southcentralus","centralus","canadacentral","canadaeast","brazilsouth","northeurope","westeurope","uksouth","ukwest","francecentral","francesouth","germanywestcentral","germanynorth","switzerlandnorth","switzerlandwest","norwayeast","norwaywest","swedencentral","swedensouth","polandcentral","qatarcentral","uaenorth","uaecentral","southafricanorth","southafricawest","eastasia","southeastasia","japaneast","japanwest","australiaeast","australiasoutheast","australiacentral","australiacentral2","centralindia","southindia","westindia","koreacentral","koreasouth","chinaeast","chinanorth","chinaeast2","chinanorth2","usgovvirginia","usgovarizona","usgovtexas","usgoviowa")][string]$location,[Parameter(Mandatory=$true,Position=3,HelpMessage="Environment Type is required.")][validateSet('dev','acc','prod')][string]$environmentType,[Parameter(Mandatory=$false,Position=4,HelpMessage="Enabled Bicep Deployment")][switch]$deploy)# PowerShell Functions# Function - New-RandomPasswordfunctionNew-RandomPassword{param([Parameter(Mandatory)][int]$length,[int]$amountOfNonAlphanumeric=2)$nonAlphaNumericChars='!@$'$nonAlphaNumericPart=-join((Get-Random-Count$amountOfNonAlphanumeric-InputObject$nonAlphaNumericChars.ToCharArray()))$alphabet='ABCDEFGHIJKLMNOPQRSTUVWXYZabcdefghijklmnopqrstuvwxyz0123456789'$alphabetPart=-join((Get-Random-Count($length-$amountOfNonAlphanumeric)-InputObject$alphabet.ToCharArray()))$password=($alphabetPart+$nonAlphaNumericPart).ToCharArray()|Sort-Object{Get-Random}return-join$password}# Function - Get-BicepVersionfunctionGet-BicepVersion{#Write-Output`r "Checking for Bicep CLI..."# Get the installed version of Bicep$installedVersion=azbicepversion--only-show-errors|Select-String-Pattern'Bicep CLI version (\d+\.\d+\.\d+)'|ForEach-Object{$_.Matches.Groups[1].Value}if(-not$installedVersion){Write-Output"Bicep CLI is not installed or version couldn't be determined."return}Write-Output"Installed Bicep version: $installedVersion"# Get the latest release version from GitHub$latestRelease=Invoke-RestMethod-Uri"https://api.github.com/repos/Azure/bicep/releases/latest"if(-not$latestRelease){Write-Output"Unable to fetch the latest release."return}$latestVersion=$latestRelease.tag_name.TrimStart('v')# GitHub version starts with 'v'# Compare versionsif($installedVersion-eq$latestVersion){Write-Output"Bicep is up to date."`r
}else{Write-Output"A new version of Bicep is available. Latest Release is: $latestVersion."# Prompt for user input (Yes/No)$response=Read-Host"Do you want to update? (Y/N)"if($response-match'^[Yy]$'){Write-Output""# Required for Verbose SpacingazbicepupgradeWrite-Output"Bicep has been updated to version $latestVersion."}elseif($response-match'^[Nn]$'){Write-Output"Update canceled."}else{Write-Output"Invalid response. Please answer with Y or N."}}}# PowerShell Location Shortcode Map$LocationShortcodeMap=@{"eastus"="eus""eastus2"="eus2""eastus3"="eus3""westus"="wus""westus2"="wus2""westus3"="wus3""northcentralus"="ncus""southcentralus"="scus""centralus"="cus""canadacentral"="canc""canadaeast"="cane""brazilsouth"="brs""northeurope"="neu""westeurope"="weu""uksouth"="uks""ukwest"="ukw""francecentral"="frc""francesouth"="frs""germanywestcentral"="gwc""germanynorth"="gn""switzerlandnorth"="chn""switzerlandwest"="chw""norwayeast"="noe""norwaywest"="now""swedencentral"="sec""swedensouth"="ses""polandcentral"="plc""qatarcentral"="qtc""uaenorth"="uan""uaecentral"="uac""southafricanorth"="san""southafricawest"="saw""eastasia"="ea""southeastasia"="sea""japaneast"="jpe""japanwest"="jpw""australiaeast"="aue""australiasoutheast"="ause""australiacentral"="auc""australiacentral2"="auc2""centralindia"="cin""southindia"="sin""westindia"="win""koreacentral"="korc""koreasouth"="kors""chinaeast"="ce""chinanorth"="cn""chinaeast2"="ce2""chinanorth2"="cn2""usgovvirginia"="usgv""usgovarizona"="usga""usgovtexas"="usgt""usgoviowa"="usgi"}$shortcode=$LocationShortcodeMap[$location]# Create Deployment Guid for Tracking in Azure$deployGuid=(New-Guid).Guid# Get User Public IP Address$publicIp=(Invoke-RestMethod-Uri'https://ifconfig.me')# Virtual Machine Credentials$vmUserName='azurevmuser'$vmUserPassword=New-RandomPassword-length16# Check Azure Bicep VersionGet-BicepVersion# Azure CLI AuthenticationWrite-Output"> Logging into Azure for $subscriptionId"azlogin--outputnone--only-show-errors# Configure Azure Cli User Experienceazconfigset core.login_experience_v2=off--only-show-errorsWrite-Output"> Setting subscription to $subscriptionId"azaccountset --subscription$subscriptionIdWrite-Output`r "Pre Flight Variable Validation"Write-Output"Bicep File............: $bicepFile"Write-Output"Deployment Guid......: $deployGuid"Write-Output"Location.............: $location"Write-Output"Location Shortcode...: $shortcode"if($deploy){$deployStartTime=Get-Date-Format'HH:mm:ss'# Deploy Bicep Template$azDeployGuidLink="`e]8;;https://portal.azure.com/#view/HubsExtension/DeploymentDetailsBlade/~/overview/id/%2Fsubscriptions%2F$subscriptionId%2Fproviders%2FMicrosoft.Resources%2Fdeployments%2Fiac-$deployGuid`e\iac-$deployGuid`e]8;;`e\"Write-Output`r "> Deployment [$azDeployGuidLink] Started at $deployStartTime"azdeploymentsubcreate`--nameiac-$deployGuid`--location$location`--template-file.\main.bicep`--parameters`location=$location`locationShortCode=$shortcode`environmentType=$environmentType`publicIp=$publicIp`vmUserName=$vmUserName`vmUserPassword=$vmUserPassword`--confirm-with-what-if`--outputnone$deployEndTime=Get-Date-Format'HH:mm:ss'$timeDifference=New-TimeSpan-Start$deployStartTime-End$deployEndTime;$deploymentDuration="{0:hh\:mm\:ss}"-f$timeDifferenceWrite-Output`r "> Deployment [iac-$deployGuid] Started at $deployEndTime - Deployment Duration: $deploymentDuration"Write-Output`r "Credentials"Write-Output"VM Username: $vmUserName"Write-Output"VM Password: $vmUserPassword"}
Installing the Agent
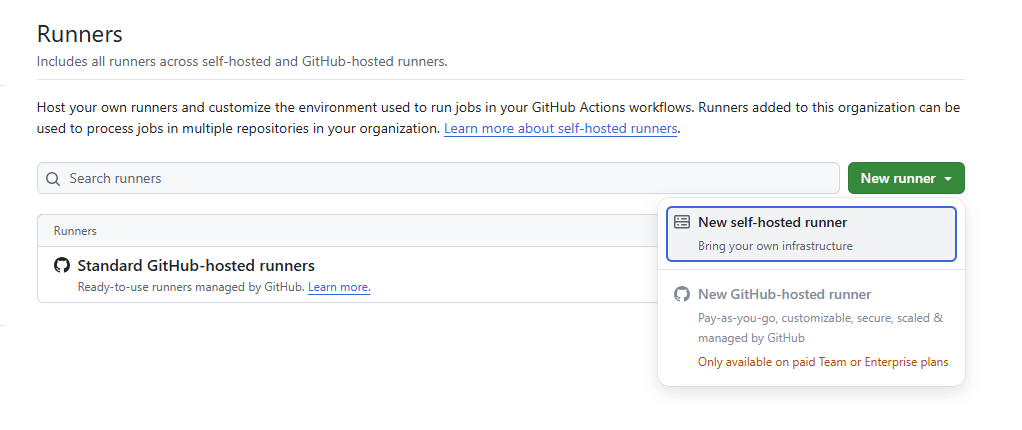
Once you have you’re machine deployed you want to head the Actions settings either under the a Repository or Organisation
From here, Click New runner
Info
The Bicep in this post, will deploy a Linux Ubuntu 24.04 LTS Image!
Pick the Operating System flavour and download the actions runner agent
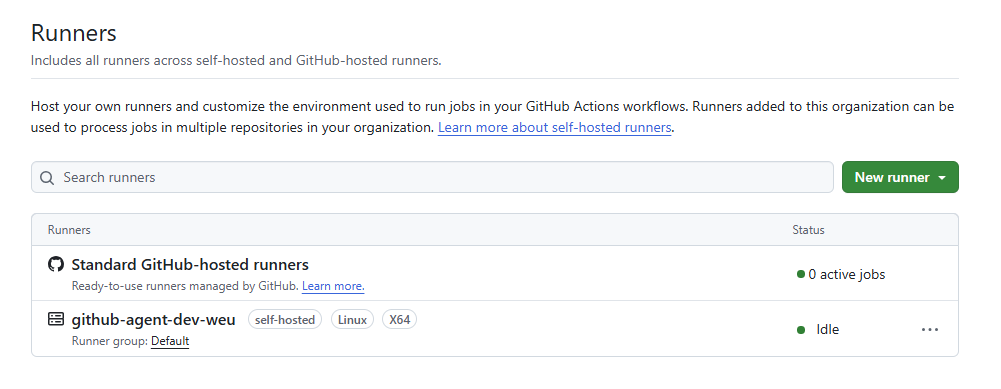
Once the agent has been installed, We can look at starting the runner
Starting the Agent
When setting up your self-hosted Azure DevOps agent, you can start it in one of three modes:
Manual
Single Run
Service
Each method has its use cases depending on your needs.
Manual Run
This mode is useful when you want to start the agent manually in a terminal session. The agent will continue to run as long as the terminal session remains active.
To start the agent manually, use the following command:
1
./run.sh
Single Run
If you want to run the agent for a single job and automatically exit once the job completes, use the –once flag. This is typically used when you need to trigger the agent for a specific task without leaving it running indefinitely.
To execute the agent in single-run mode, use:
1
./run.sh --once
Service
For persistent operation, you can install the agent as a service. This method ensures that the agent runs in the background and starts automatically with the system. It’s ideal for long-term setups where you want the agent to always be available.
This setup will ensure the agent runs as a service and is managed by your system’s init system (e.g., systemd on Linux), providing greater reliability for ongoing automation tasks.
Once the agent service has been brough online, You should see the agent online and happy in the portal!
Using Self-Hosted Agents in Pipelines
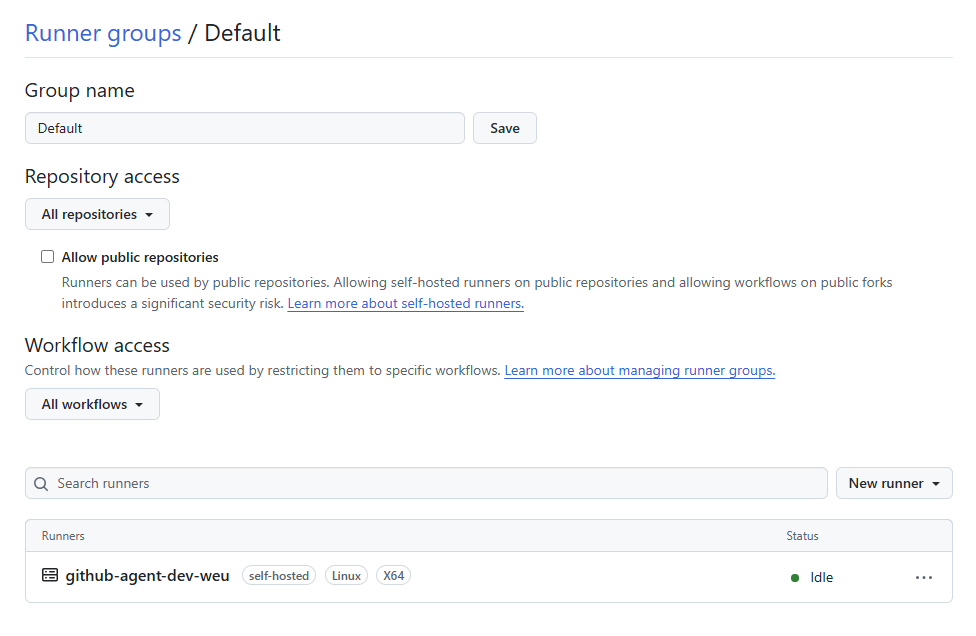
By default, GitHub Self-Hosted agents are only available for Private Repositories. To use them with Public Repositories as well, you need to update the default agent group configuration
In this post, we’ve explored how to set up and manage GitHub Actions self-hosted runners, focusing on installation, configuration, and best practices. Using a self-hosted runner can significantly improve the speed and customization of your CI/CD pipelines by leveraging your own infrastructure. Additionally, by running the runner in service mode, you ensure that it remains available and resilient, ready to handle GitHub Actions jobs without requiring constant attention.
Key takeaways include
The steps to download, configure, and register a self-hosted GitHub Actions runner for both GitHub and GitHub Enterprise accounts.
How to leverage service mode for continuous availability and automatic recovery after system reboots.
Benefits of running the runner as a service, such as persistent uptime, reduced manual intervention, and enhanced reliability for production environments.
Tips for monitoring and maintaining the runner, ensuring your workflows run smoothly and without interruption.
By taking these steps, you ensure your self-hosted runner becomes a reliable, scalable part of your DevOps toolchain, helping you streamline your CI/CD processes with minimal overhead. If you’re working with Azure or other cloud platforms, these same principles can be applied to ensure your automation processes are efficient and always ready to run.
We hope this guide helps you set up your self-hosted GitHub Actions runner with ease and confidence. Happy automating!